Wednesday, October 27, 2010

Upper deck framed

Lots of progress today, the framing went down for the upper deck. In this pic the framing for the new wall is resting on the deck frame, it had to be built here due to the confirms of the space


 The deck is raised to be level with the house, no more steps..


With the deck now raised the rear wall has also been raised, for additional privacy from the neighbouring townhouses. To prevent any issues with these neighbours the rear of the blueboard that is above the fence line is painted in the same colourbond colour.  


Now I really need to decide on the colour scheme because as much as blue is my favourite colour, this is just tooo blue


Tuesday, October 26, 2010

Wharfdeck

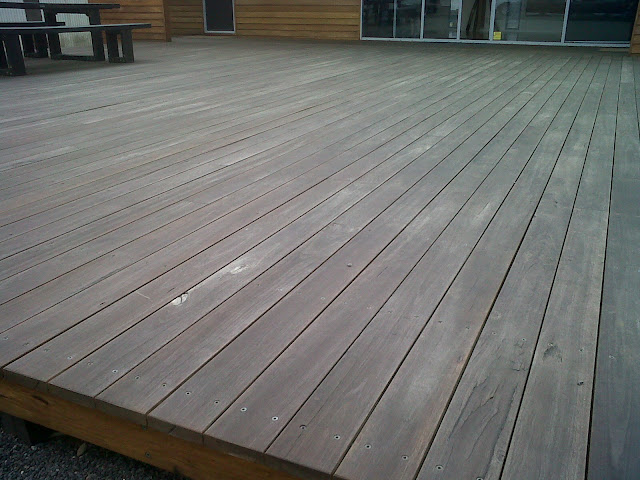
I've decided to go with the Wharfdeck, it was my 1st choice but to keep the cost down will only use it for the upper deck which is 3.4m x 3.6m. It is milled in NSW and only to order, there's a 2 week wait for delivery arrrhh and for the lower deck... stay tuned!

Now the thickness of the decking has been confirmed with a sample the posts and bearers are built  

Some post anchors go in 


1st problem - downpipe that a post will stand next to.. rusted..call the richest man in the world -the plumber


$$$ and 1 new downpipe later


Monday, October 25, 2010

While I'm umm-ing and arrh-ing over the timber, the framing timber arrives


Timber Choices

I want the rustic, wharf look for the deck. The 1st one I see I love..


Spotted gum/ironbark 135mm x 32mm rough sawn face with the other 3 sides dressed and a pencil edge but it's the most expensive so decide to see what else is out there...

 2nd Choice-Woolshed mixed browns..go back a second time to order it and am told "not selling it anymore"


 3rd Choice - Blackbutt - they had 2nds at good discount price but had "sold out"

A) Spotted Gum
B) Wharfdeck
C) Blackbutt
D) Yellow Stringybark

Outdoor Heater

I found this outdoor heater for the Outdoor Room, it runs on bio ethanol fuel.. so it's cheap to run and no mess. Hope it doesn't burn the house down!

Friday, October 22, 2010

It starts

Yay the shed has gone, it took up so much of the space and the big square table and chairs find a new home via ebay

I decide to build a scale model to satisfy myself that the images on paper could actually be built and hopefully prevent any costly planning errors. It's still a work in progress...

Fast Forward to Oct 2010

I have been working on designs for an Outdoor Room with decking and structures for about a month now. There are a number of issues that needed to be addressed.
  1. I hate the colourbond fence
  2. Privacy - 2 storey townhouses next door that overlook
  3. Living room is elevated and looks out over courtyard
  4. There are lots of materials and finishes I like and had to narrow down
  5. Limited budget
After working through all these points and many many sketches later I have a plan.
Add some flaxes, pebbles and a disco ball and that will be it for another year


I feel like painting...

For the main wall I choose Wattyl Sunfast in Dulux "Braid" an uninspiring name but looks like Cadbury Milk, yummy


Other wall I choose an acrylic render Granosite Fine Texture, the assistant mixed a colour for me based on the Dulux interior paint River Rock, the colour "European Stone"


A dog's life..

Prepped the house - ready for some paint

Nov09 Lets do something

1st things first rip out all these old lady plants

New Fence

6 months later I have a new fence (courtesy of the body corp) but OMG cottage cream colourbond. At least it is high


And after the old lady had moved out. A blank canvas  - where to start??


The Courtyard - Before Pictures

I purchased this property in Dec 2006 - It's a 2 bed villa in Melbourne's inner west. These are the 1st pics to be taken, during the building and pest inspections. Quite ugly really.