Use the same product as with the posts "Floods - Spa N Deck" in Natural
Sunday, February 27, 2011
Lower Decking - Day 3
Everyone seems to have a different opinion on when is the best time to apply the finish, ranging from as soon as the boards are laid up to 6mths afterwards. After already having a sample outside for the last 4mths and it not leaching tannins, not wanting it to "grey off" and wanting to protect the timber I decide to apply the finish now.
Use the same product as with the posts "Floods - Spa N Deck" in Natural
Use the same product as with the posts "Floods - Spa N Deck" in Natural
Friday, February 25, 2011
Door
Spotted Gum Lower Decking - Day 1
Finally the day has arrived to start laying the boards, the first board is the fascia for the step
and then onto the floor...
and then onto the floor...
End of Day 1 - half way
Smart-Bit & Decking screws
Now to find the right screws for the lower deck - stainless steel 10g x 50mm Type 17 with square drive heads and going to need approx 600 of the suckers!!
600 screws means 600 holes - found the perfect drill bit for the job. It's a "Smart-Bit" it pre-drills and countersinks at the same time. Refer to the link for more info
http://www.starbornindustries.com/smart-bit/learn_more/system_demo.html
600 screws means 600 holes - found the perfect drill bit for the job. It's a "Smart-Bit" it pre-drills and countersinks at the same time. Refer to the link for more info
http://www.starbornindustries.com/smart-bit/learn_more/system_demo.html
Back on deck
It's been decided that the lower deck will now be laid first so make a quick decision this time and go with Spotted Gum 86 x 19mm Standard Grade in random lengths - need 13sqm's and surprise surprise it's in stock
Sample A
 |
| Spotted Gum |
Sample A
The boards arrive
There is one more job before the fun can begin - trimming the tops of the brackets
The beginnings of the Structure
Installing the posts that form part of the structure are next on the hit list as the decking boards will need to fit around them.
Footings are poured for the 2 posts that are in the garden beds
The posts are secured in the stirrups
Then the overhead beams are added, as the sleepers are all a standard 2.4m long the joins are strengthened with the metal plates that were custom made for a perfect fit.
Footings are poured for the 2 posts that are in the garden beds
The posts are secured in the stirrups
Then the overhead beams are added, as the sleepers are all a standard 2.4m long the joins are strengthened with the metal plates that were custom made for a perfect fit.
The remaining beams are to be fixed later
Thursday, February 24, 2011
The life and times of a Railway Sleeper
Stage 1 - Starting life as an Ironbark Tree
Stage 2 - Then as a railway sleeper in NSW
Stage 3 - Pulled up and transported to a landscape supplier in Vic
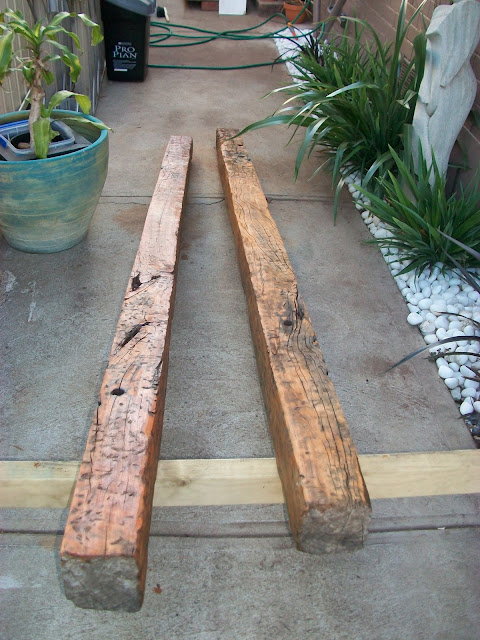
Stage 4 - A new home in my courtyard, soon to become "The Structure"
Stage 5 - Time to split... with a little help from a chainsaw
5 down... 5 to go
1st coat of "Floods" Spa N Deck in Redwood - goes on whilst the timber is soaking wet so as it dries it gets pulled well into the timber. It's the best stuff going around! Here's a link for more info
http://www.floodaustralia.net/products/wood_care/spa_n_deck.php
3rd coat after another 2 hrs, all prepped now ready for installation
Stage 2 - Then as a railway sleeper in NSW
Stage 4 - A new home in my courtyard, soon to become "The Structure"
And get cleaned up with an angle grinder, after experimenting with various wire brush attachments the best solution was a rust removing disc
5 down... 5 to go
1st coat of "Floods" Spa N Deck in Redwood - goes on whilst the timber is soaking wet so as it dries it gets pulled well into the timber. It's the best stuff going around! Here's a link for more info
http://www.floodaustralia.net/products/wood_care/spa_n_deck.php
2nd coat goes on once it's dried, about 2 hrs
Subscribe to:
Posts (Atom)


